
Process for creating 'Zepar'
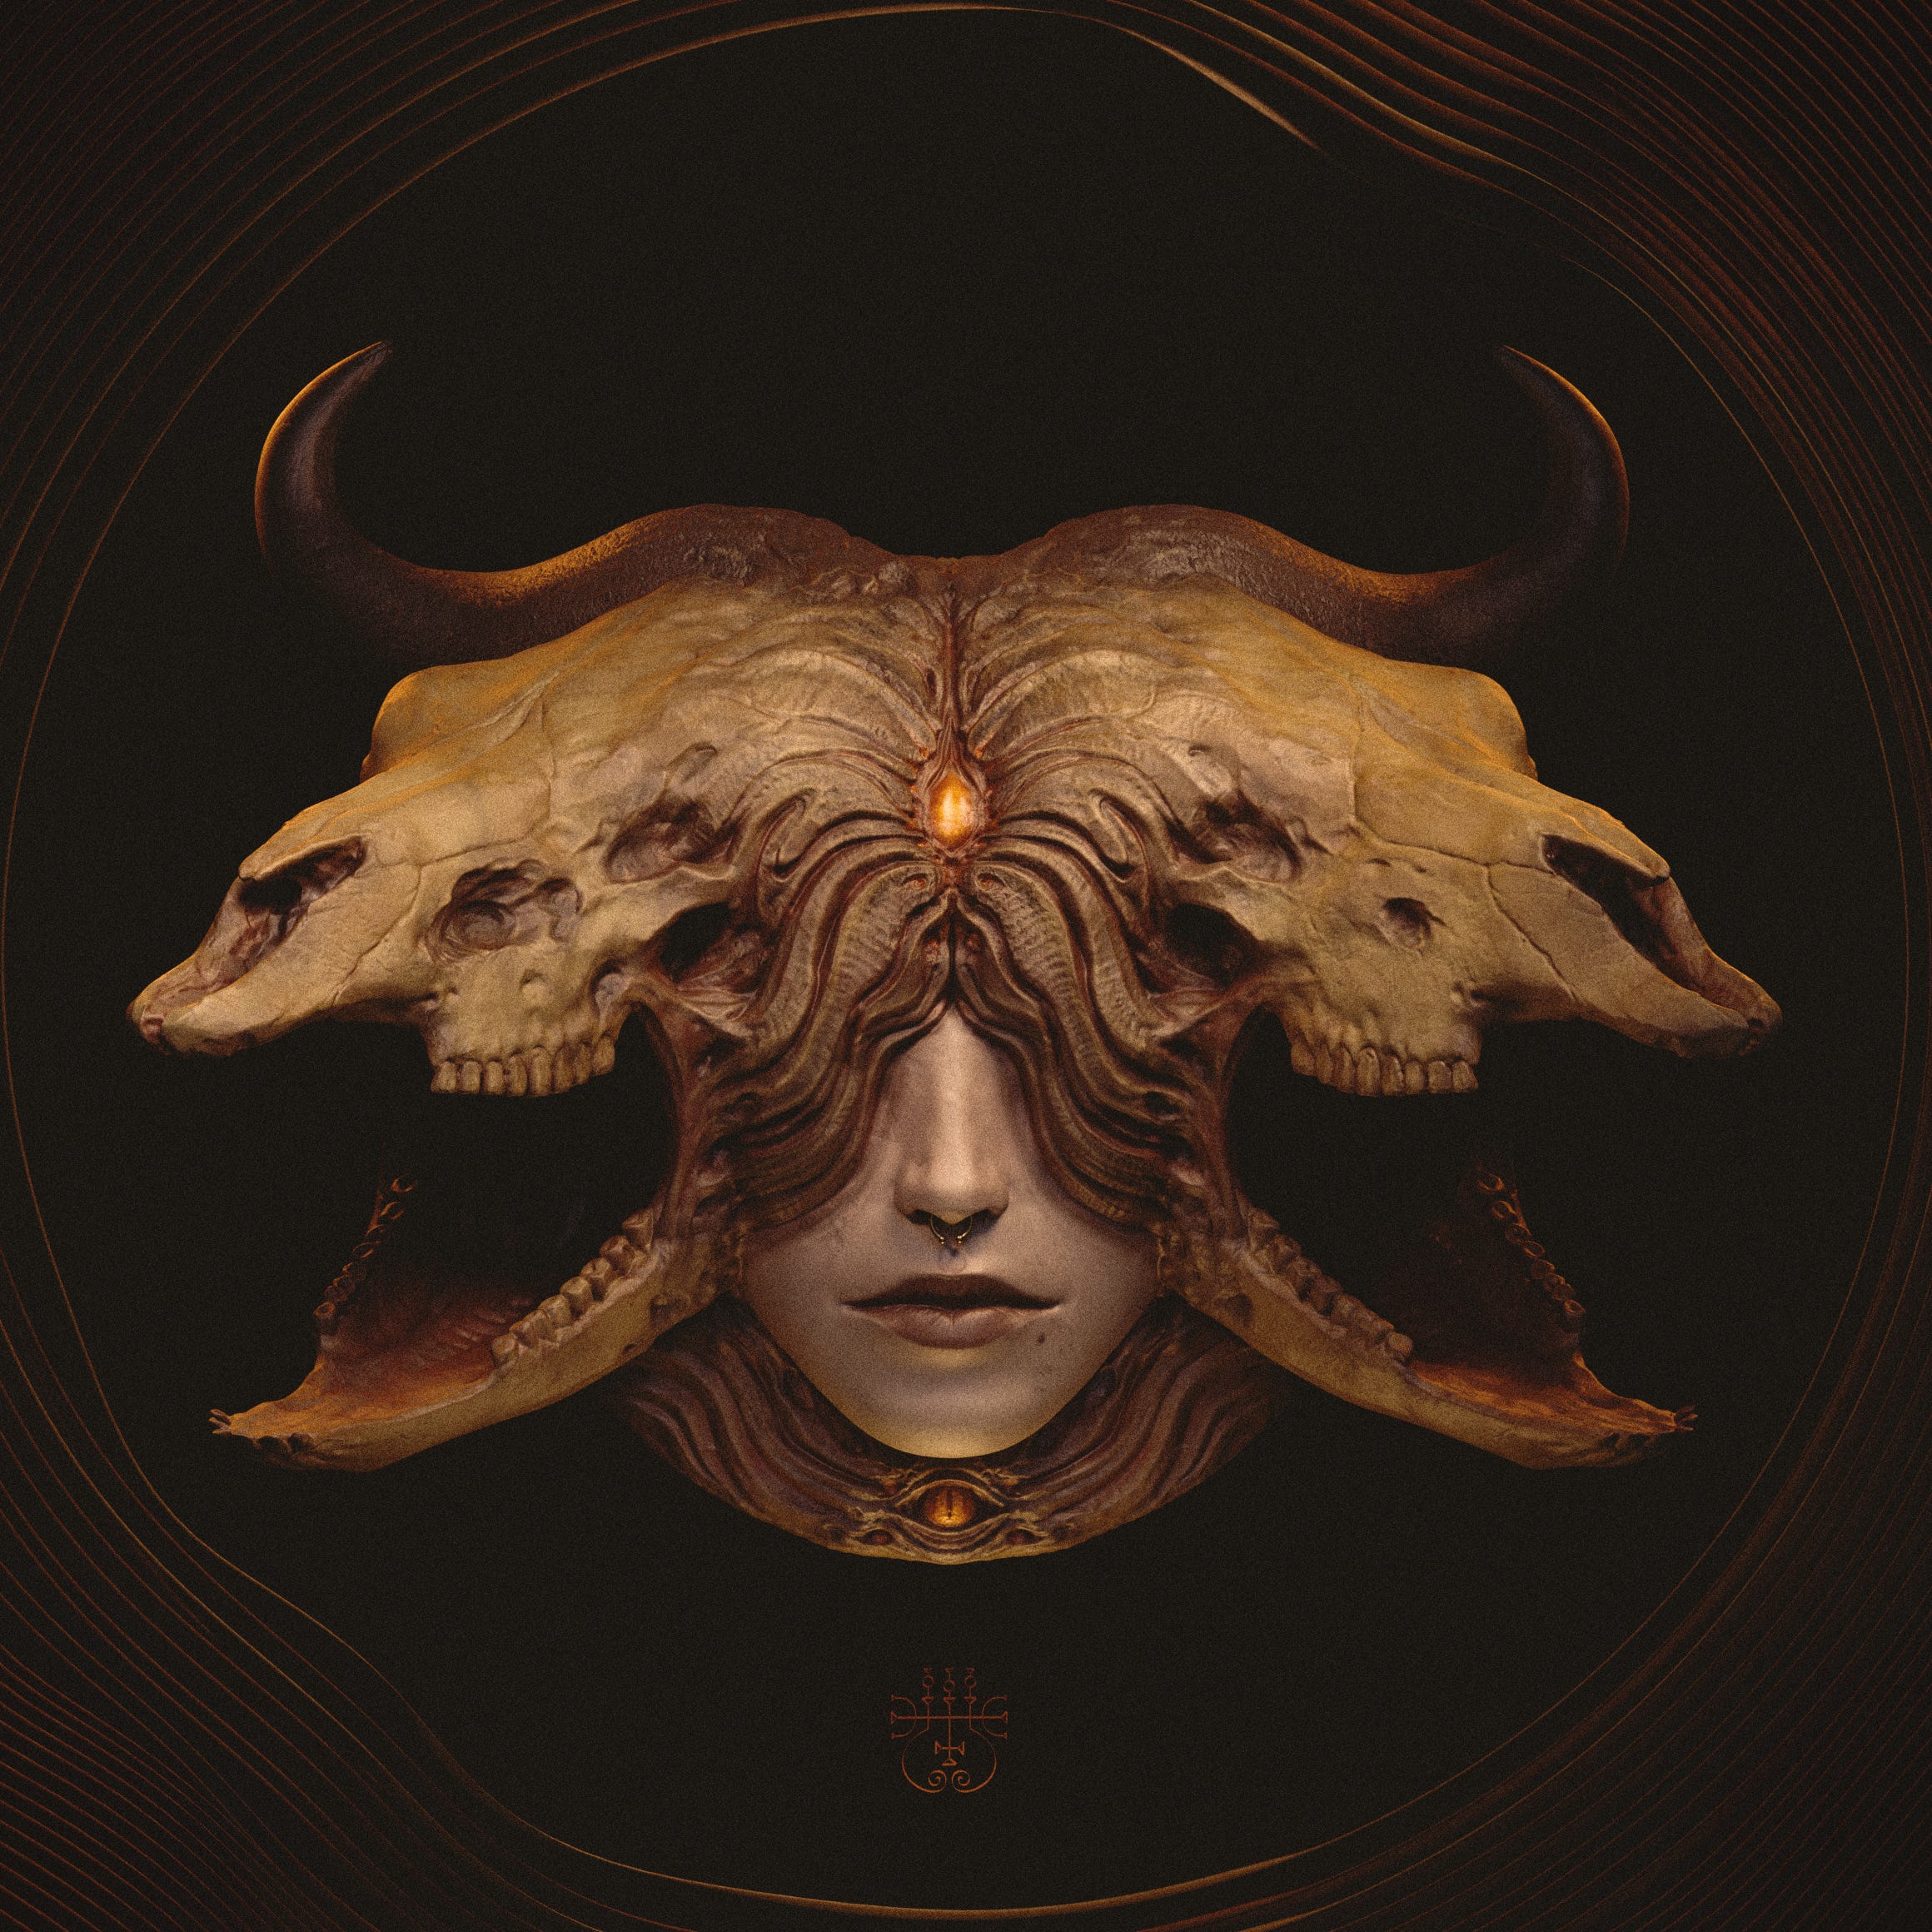
The demonic mask created as part of the Descent into Hell part II series

Hey there!
I hope everyone is doing well and welcome to my personal blog.
I wanted this blog to be a fun space to share more about my work. Here I will discuss my thought process and the techniques I use for creating art.
This first post will be a process breakdown of a piece I recently completed titled ‘Zepar’. This piece was made as part of the Descent into Hell part II series for The Hell Fire Sculpt Club. This will be more of a high concept breakdown. I won’t go into granular detail about every aspect of the process. I hope you enjoy!
Research and Sketching
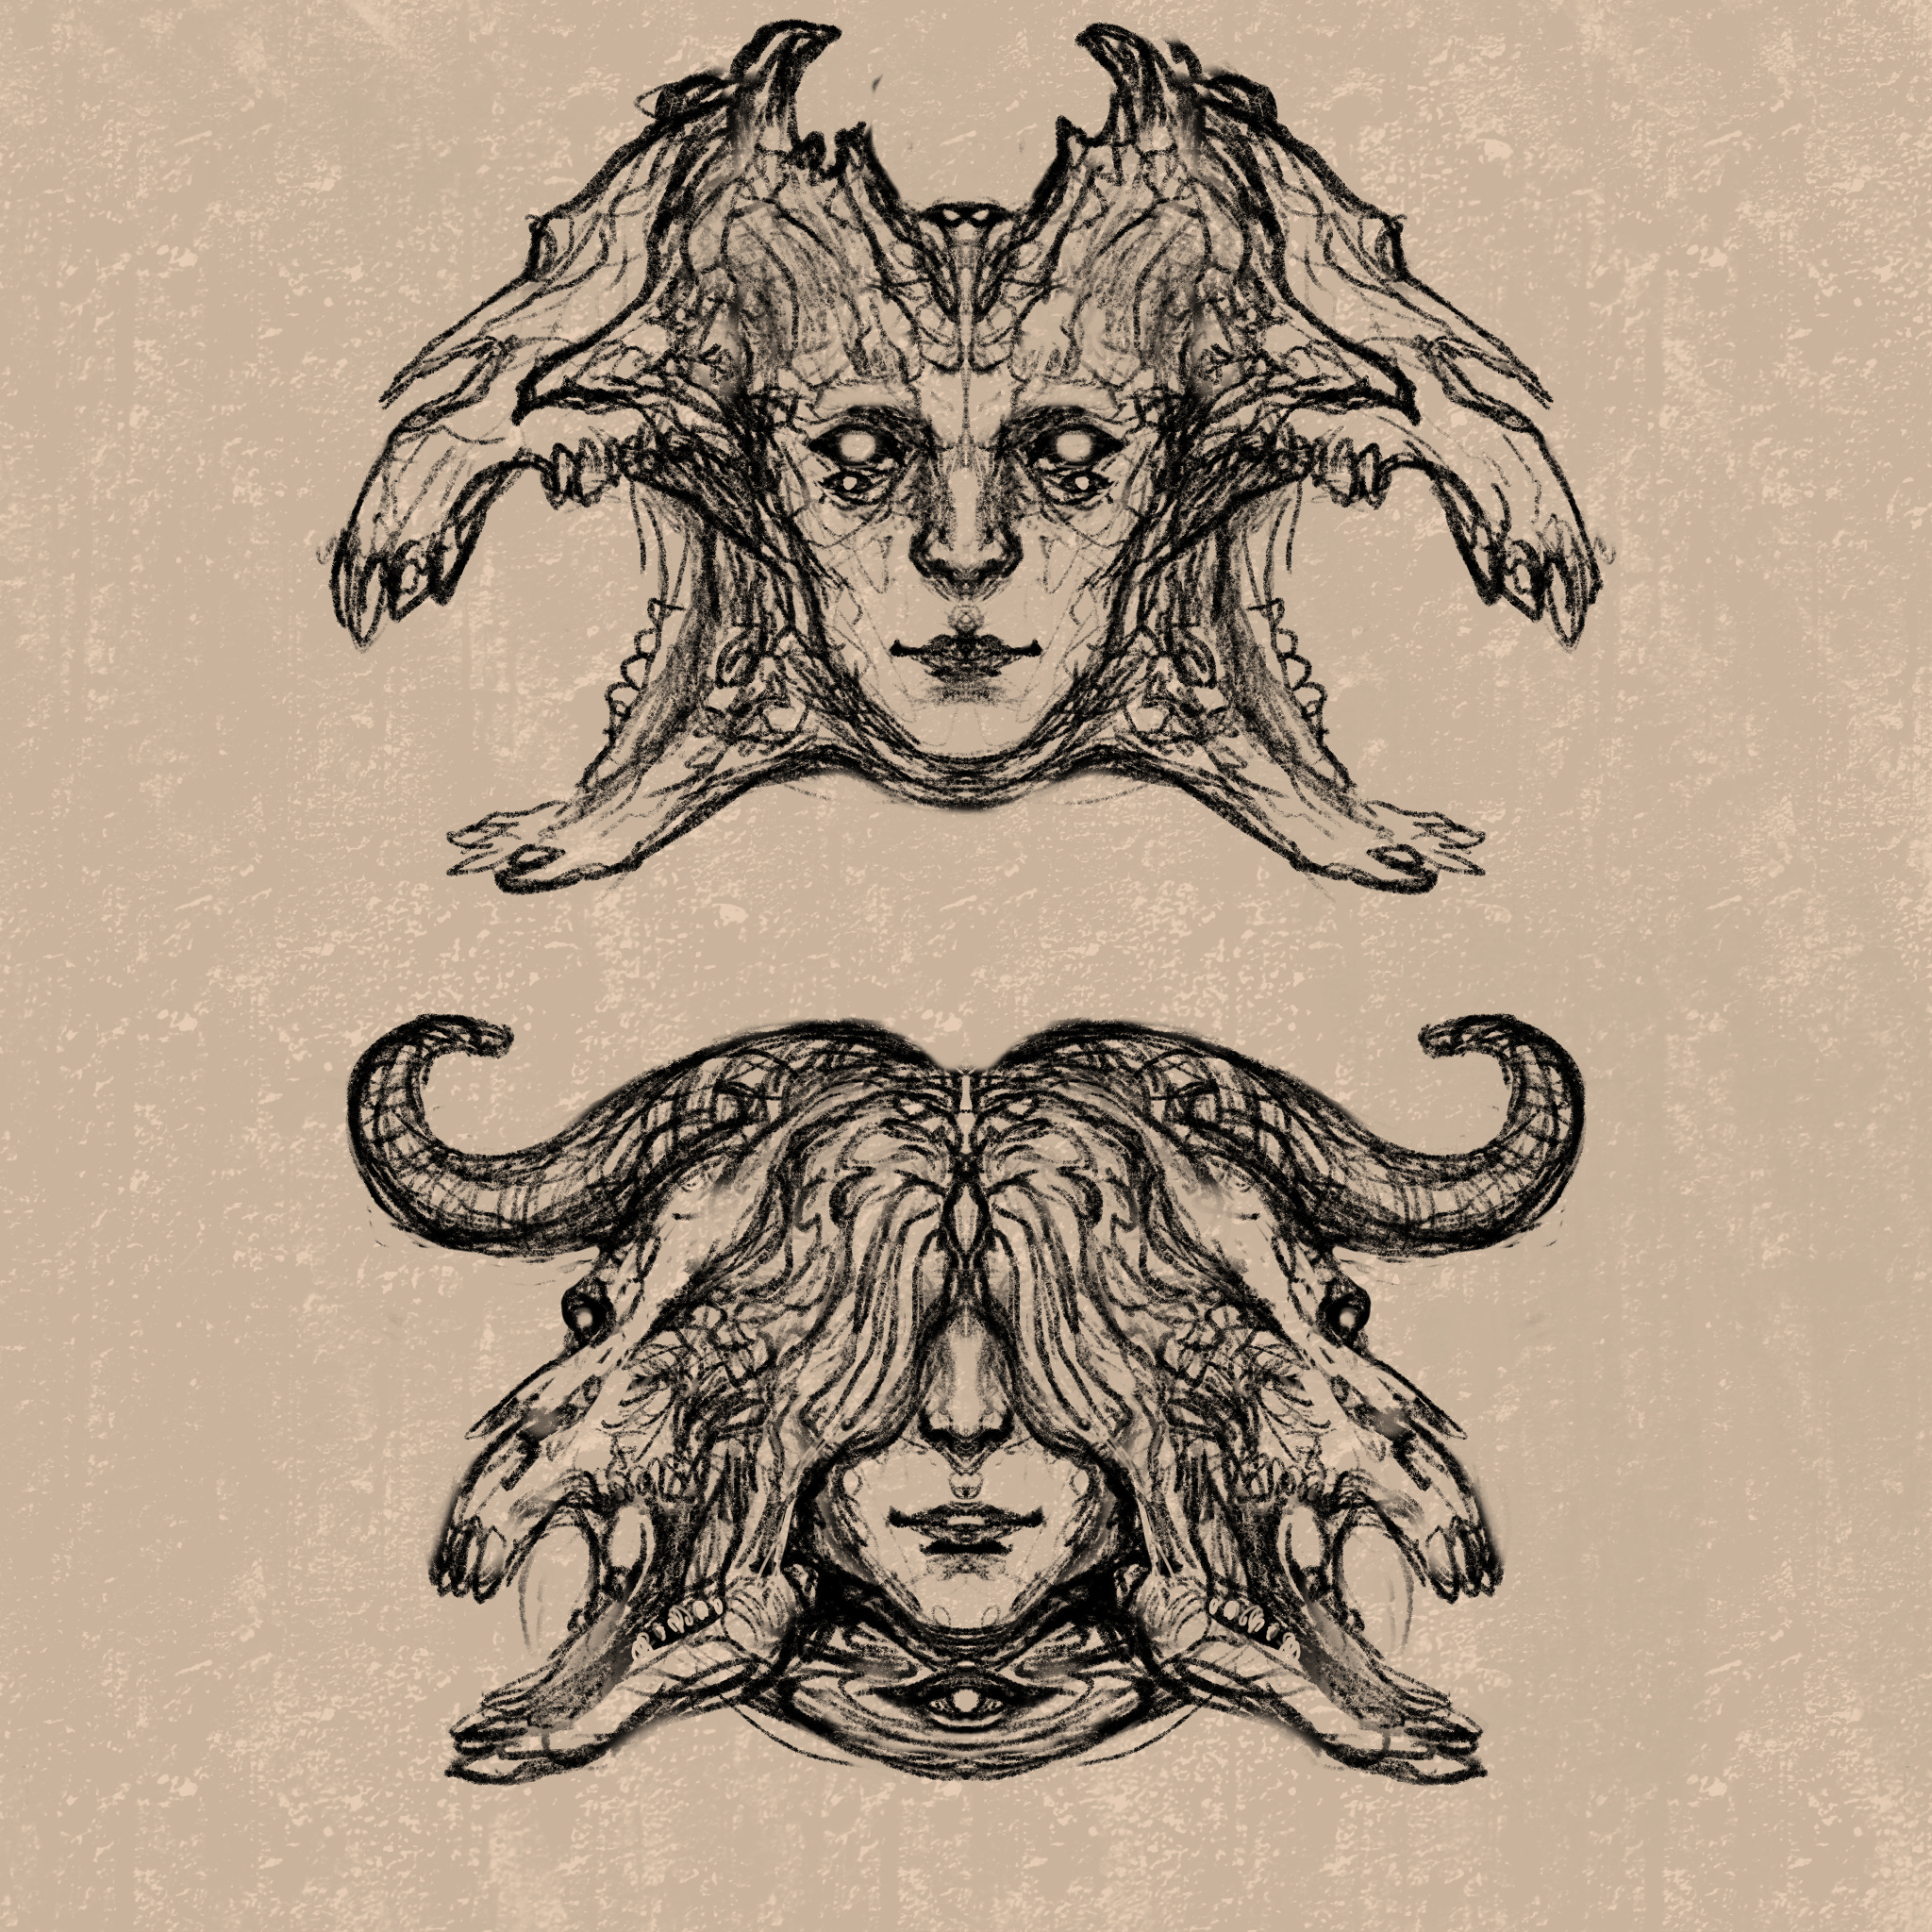
I did a bit of research on demonology in order to find some inspiration for this project. I love learning about mythology so this was fun for me. The demon Zepar seemed like a perfect fit for what I wanted to create. Zepar is a demon of lust; representing the darker sides of love and passion. I really wanted to create something that feels elegant but dangerous. I pictured in my head the face of a woman, split between two monstrous faces; balancing the divine with the demonic. This choice was to represent the remnants of what was once an angel who has fallen from heaven and now assumes the form of a demon. Furthermore, I made the design to have two cow skulls on each side of the face as an homage to Baal— the bull headed god of fertility and storms from Canaanite mythology.
I always start my work by sketching. This is the quickest way to get my thoughts down on paper and saves me a lot of time when coming up with details and design elements later on.
Block out
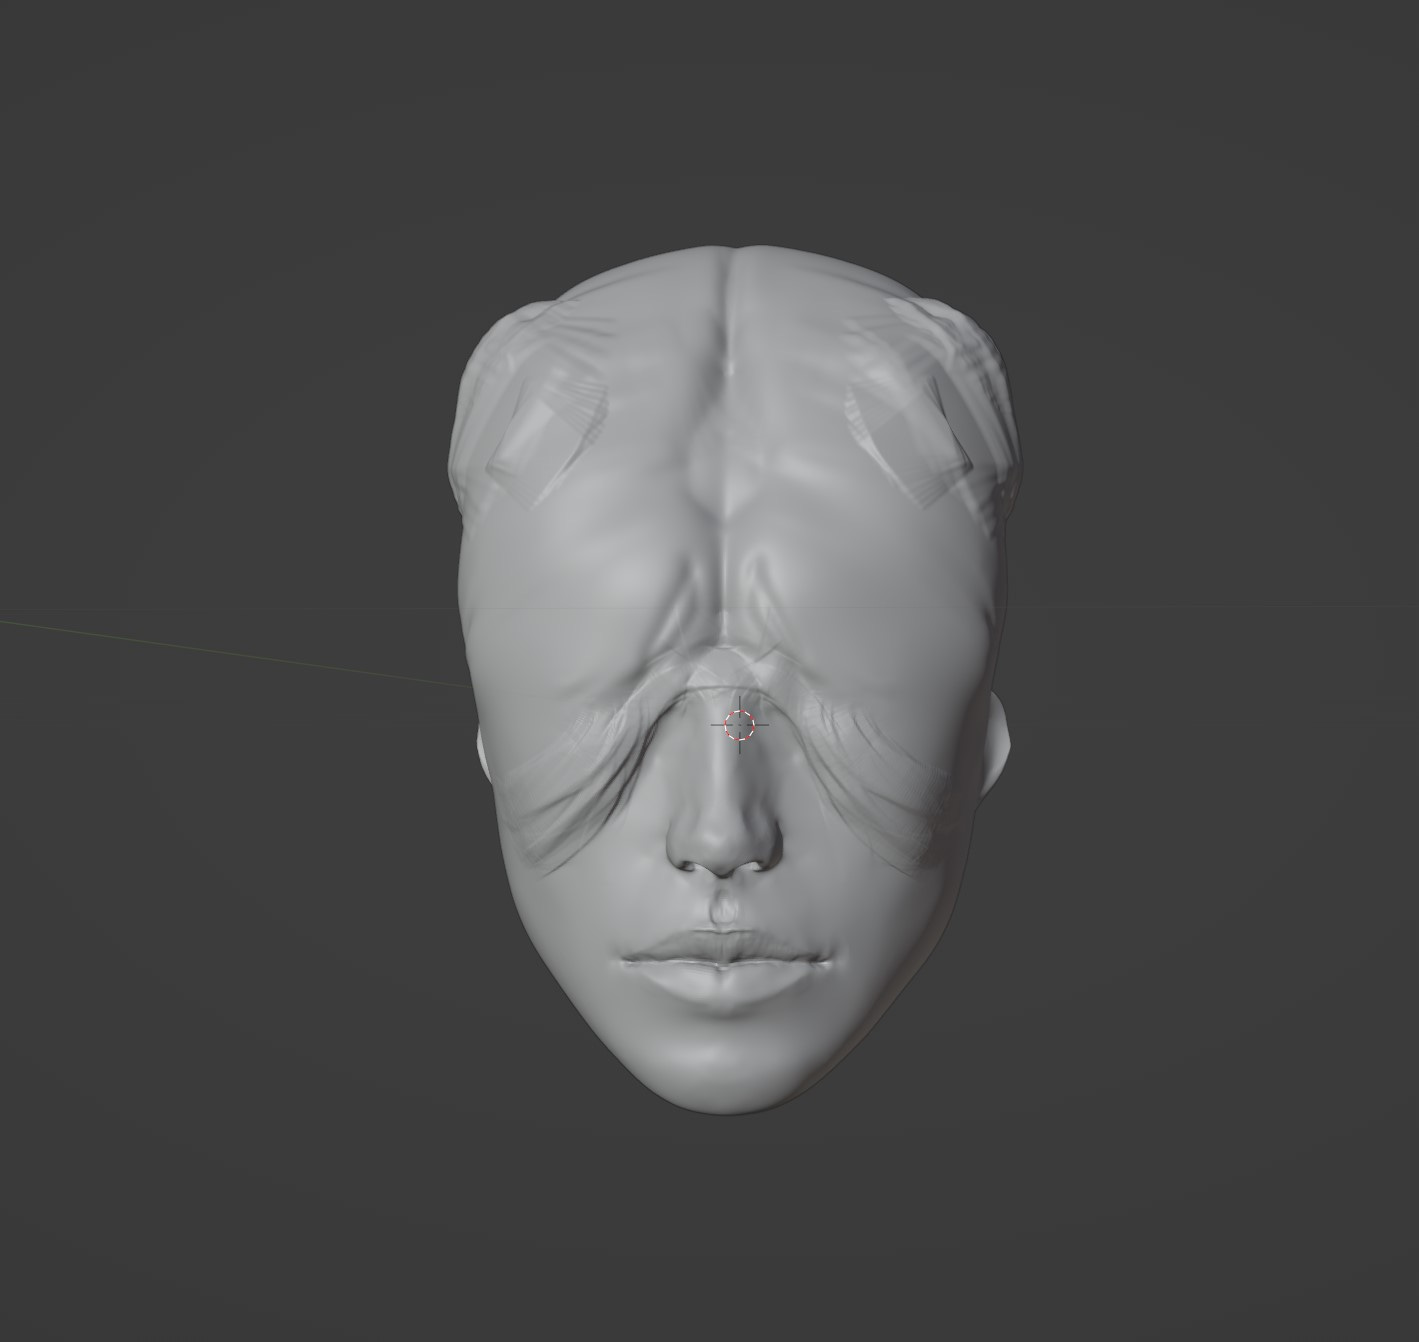
I usually start my sculpts by blocking things out in Blender. Using a simple base mesh of a mask, I began sculpting the woman’s face; trying to match the proportions and expression from the sketch.
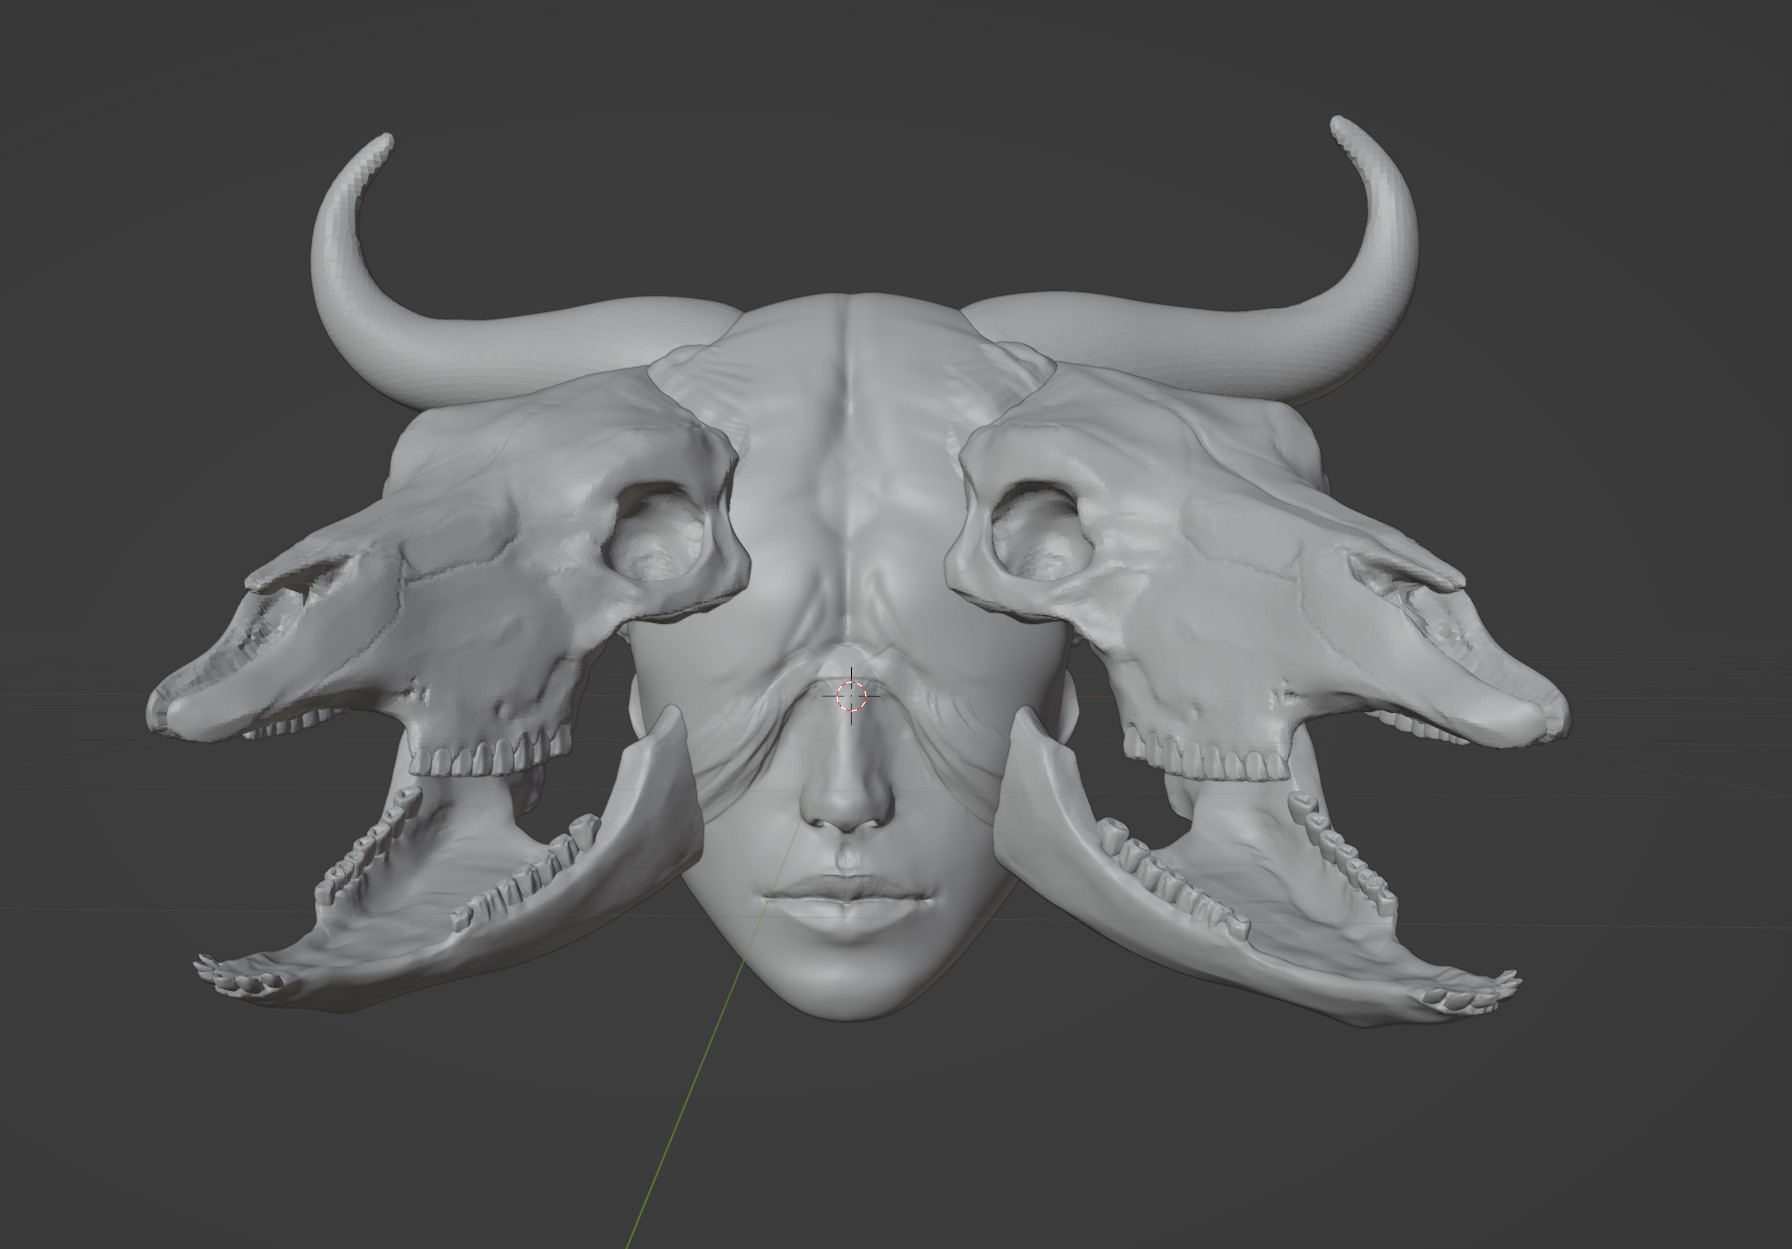
I then sculpted a cow skull from the original sketch. I then mirrored it on the other side. At this stage I’m just arranging the basic elements of the design together.
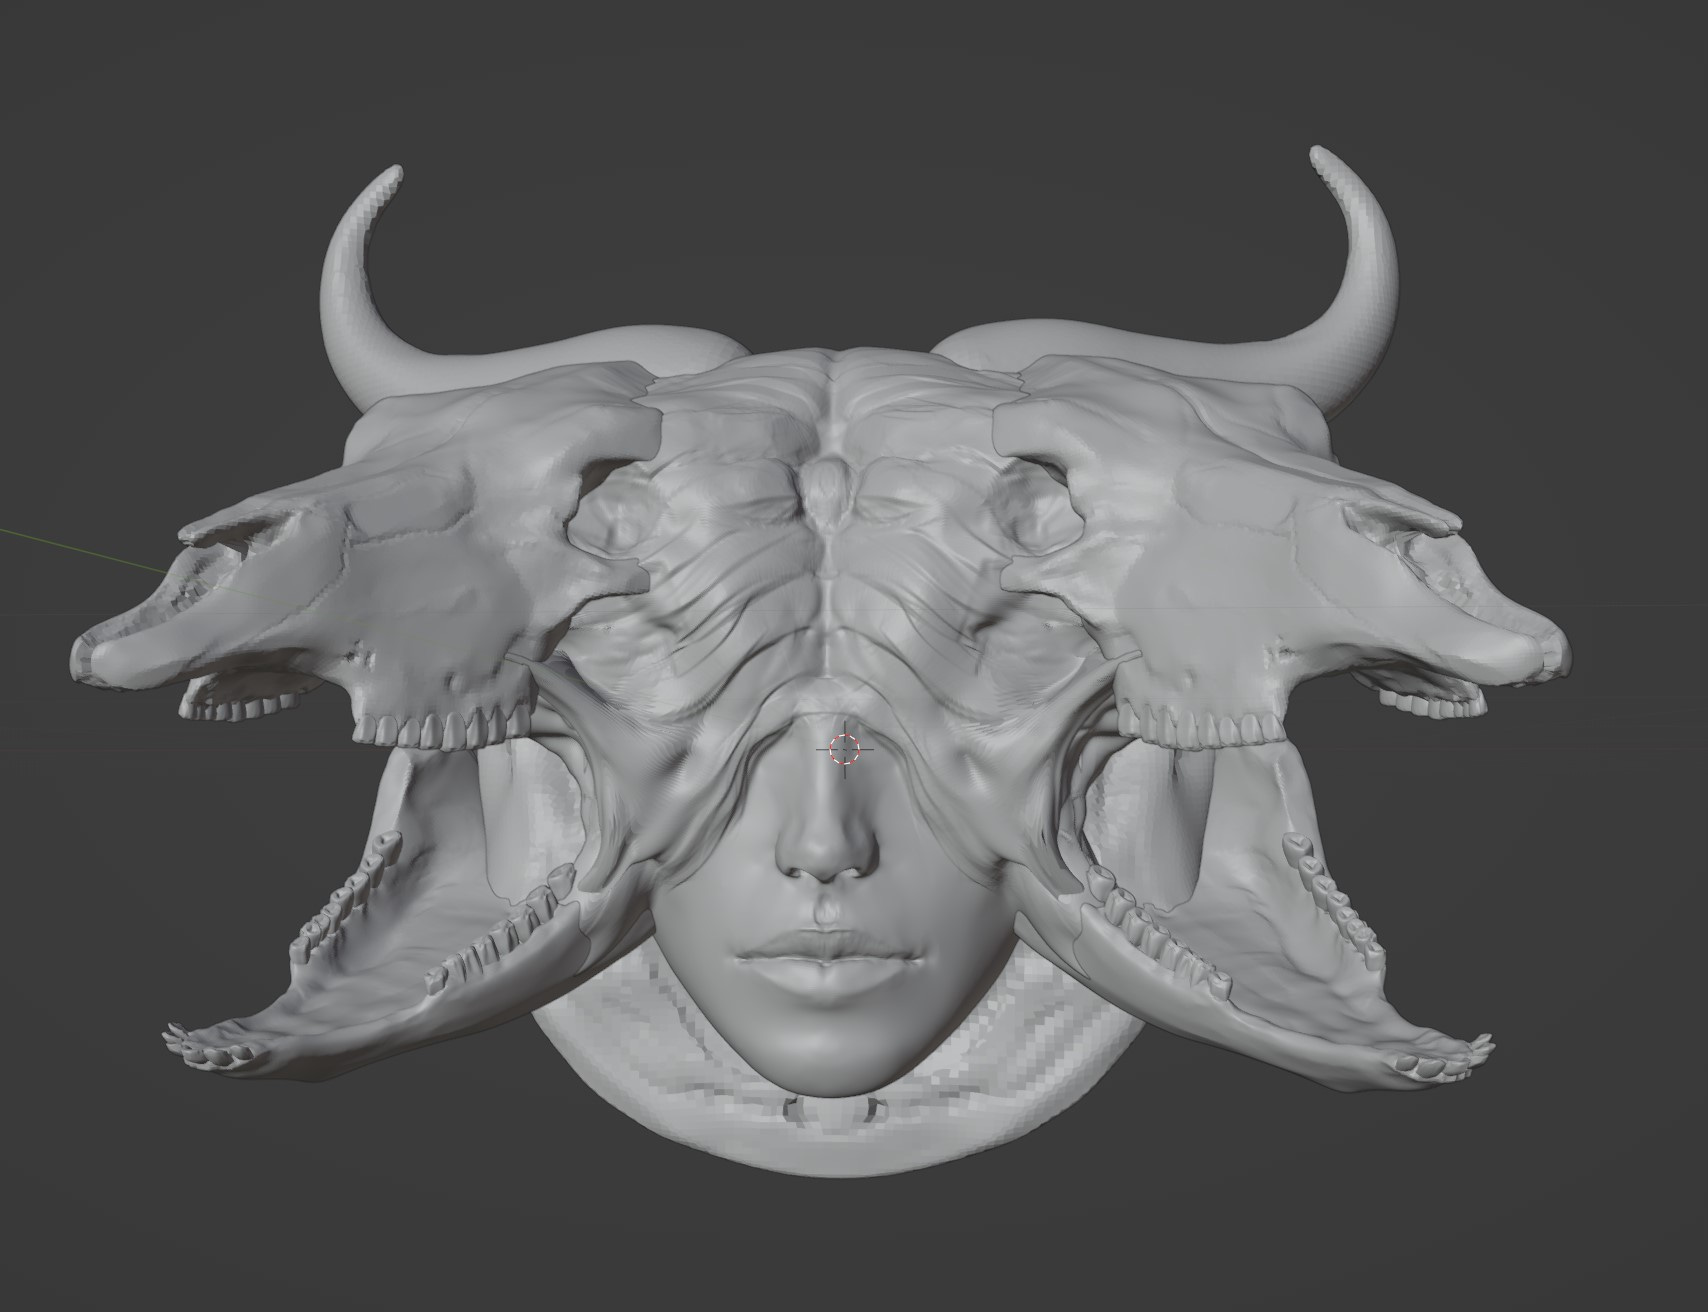
I start to fill in the empty spaces by adding additional shapes.
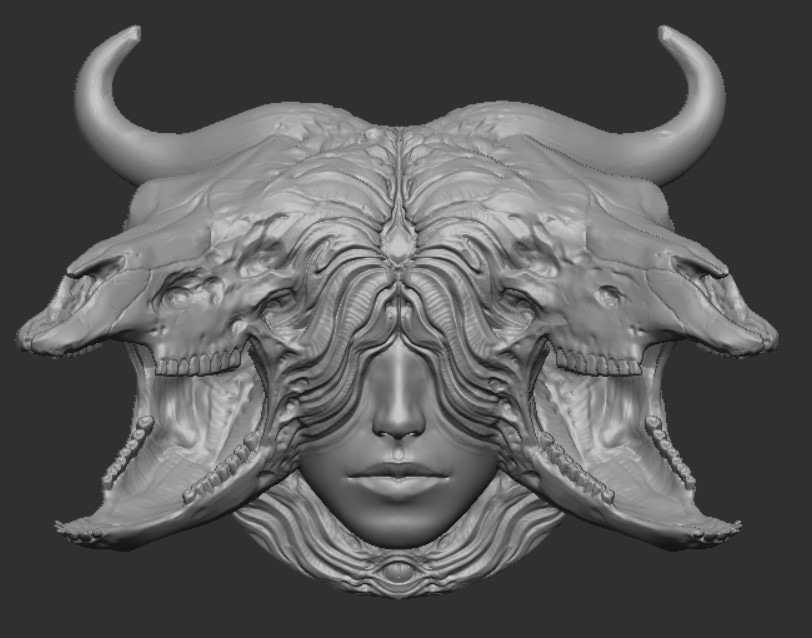
Refinement and Details
Now I want to bring the sculpt into Zbrush for further development. I start by dynameshing the pieces together. I then sculpt the basic details in with the clay buildup brush and dam standard.

I continue to refine the sculpt; finding happy accidents and interesting shapes. As I keep molding the digital clay; the details start to flow into something that I feel happy with.
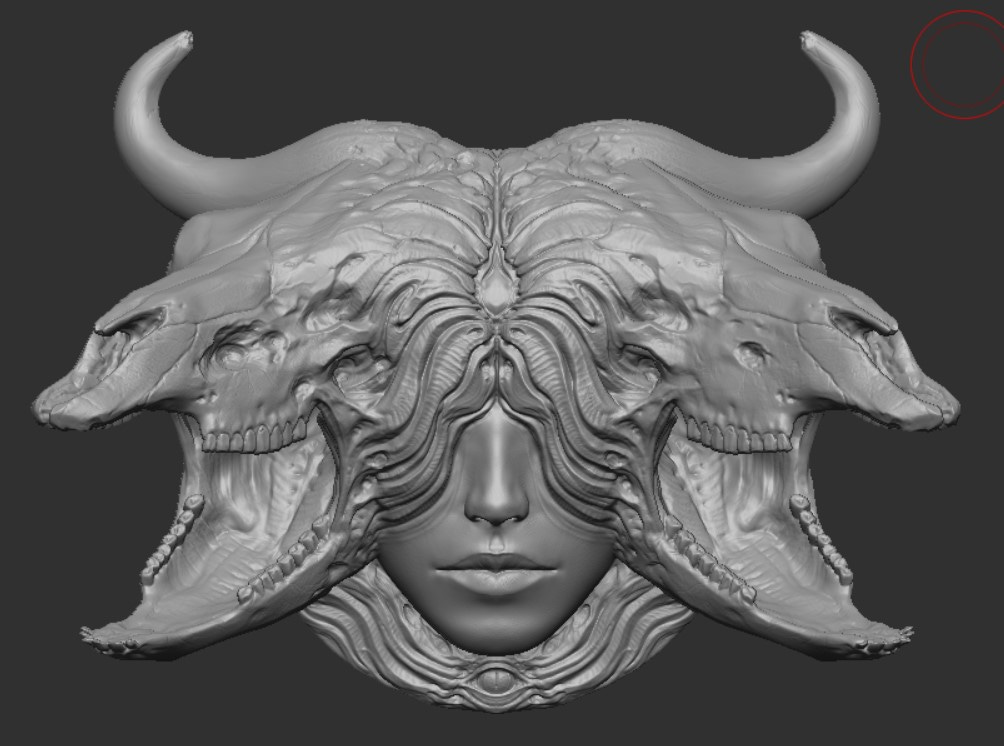
For the finishing touches I zoom in and find areas where I can carve smaller details. Finally I start applying alphas to get those bits of texture that you really only notice zoomed up close. This is when things start to pop!
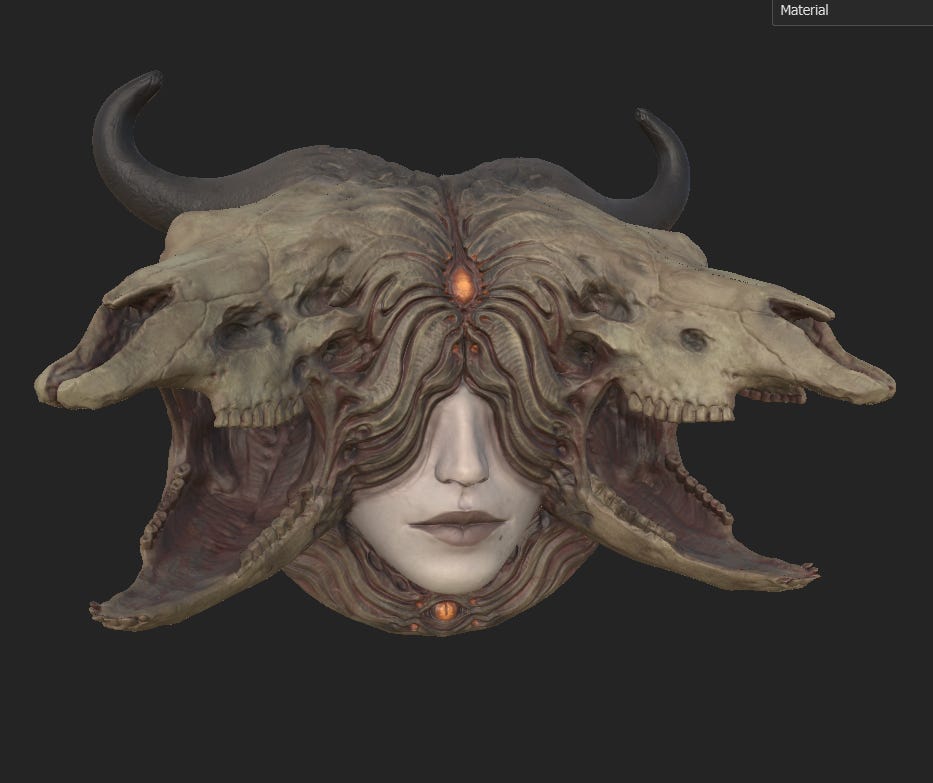
Color and Texture
This is my favorite part! After creating some quick and dirty UVs, I import the model into Substance Painter to start painting. I build up texture with lots of masks and layers. I like to think there’s a method to the madness. It can take a bit of experimentation! Sometimes you can find the most unexpected happy accidents by using a material that is unrelated to what you would expect the model to use.
Lighting and Rendering
When it comes to rendering, I try to use lighting that conveys a grim mood. The space in between details can create feelings of mystery and intrigue. It’s all about understanding which details you want to highlight and which you want hide. I knew I wanted to use warm tones for the lighting. I used a simple three point+ light setup. This has the key light, fill light and rim light but with a few extra point lights to add a bit more flavor; while still making sure the areas of shadow are dark and punchy.
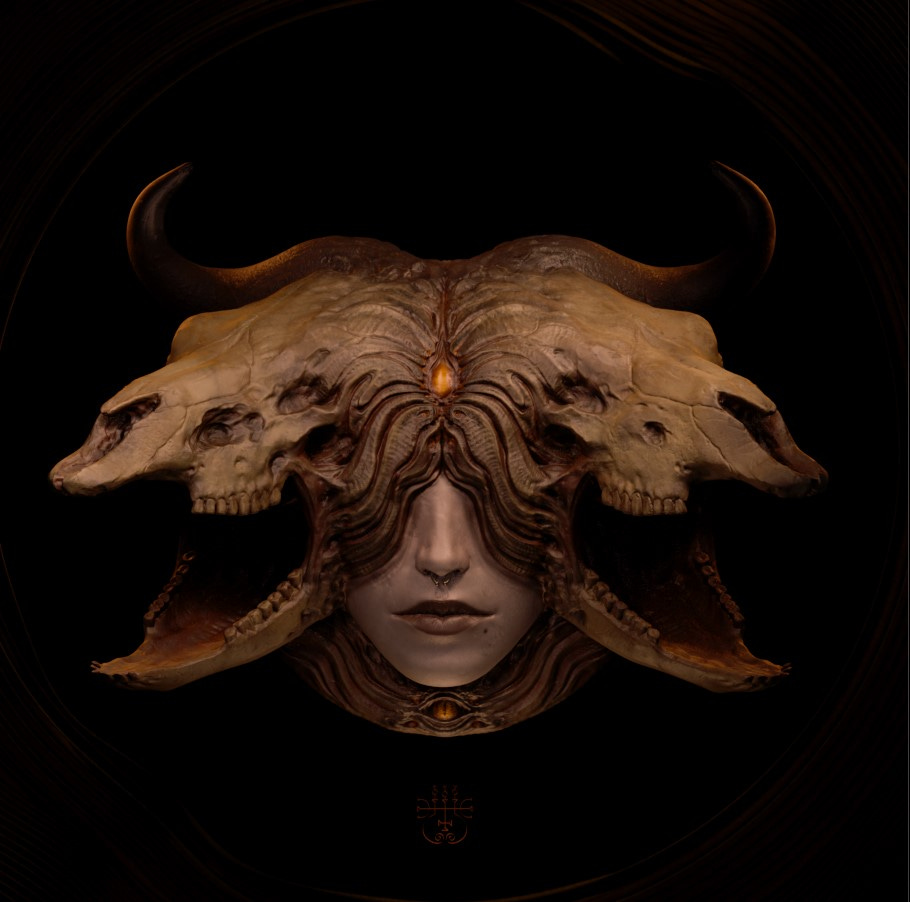
I also added some background details like the symbol below the sculpt, which is the demonic sigil for Zepar, and a frame comprised of metal rings. The rings are bent as a way to symbolize the twisted nature of following the left hand path.
Post Process
For the finishing touches I will take my render into photoshop for a slight touch up. I really don’t use that many layers and I don’t do any over paint. For this project I just add a color balance, curves and exposure adjustment. I wanted to lighten the darkest darks slightly to give it a more classical aesthetic. I also love using noise to add more grit to the overall image.
That’s it really! I don’t have any fancy tricks or tactics. I had a lot of fun with the process of creating this piece. It was enjoyable both conceptualizing it and being apart of this series. In this world we live in now with AI art, I think it’s much more important to show your process and to show that there aren’t any shortcuts to making art that has quality and depth. It’s about struggling to find improvement. Nobody’s work is perfect. This is what makes art human. To share your art with the world is to be vulnerable, and you can’t teach an AI something like that.
If you’ve made it this far, thank you so much for taking the time to read my silly article. It really means a lot! Feel free to shoot me a message if you have any questions and make sure to check out my socials below! Also Check out the Hellfire Sculpt Club! There are lots of dope artists there. That’s all for now.
-John
i love seeing how you lay out each step of the piece come together, the color & lighting are chef’s kiss. this feels super rare & it’s been really a blessing seeing your process. i hope this is the first to many more posts from you ❤️
super interesting read, and great piece!